Airfield Models - How To

Make a Compound Table Fence

December 19, 2021


Home
About
What's New
History
Models Gallery
Model Building Safety
Articles
Mail & FAQ
Site Map
Site Feedback
Contact
Add to Favorites
Comments
Search Airfield Models

Back to How-To Articles


Airfield Models (http://www.airfieldmodels.com/)How to Make a Fenced Drill Table for a Compound Table

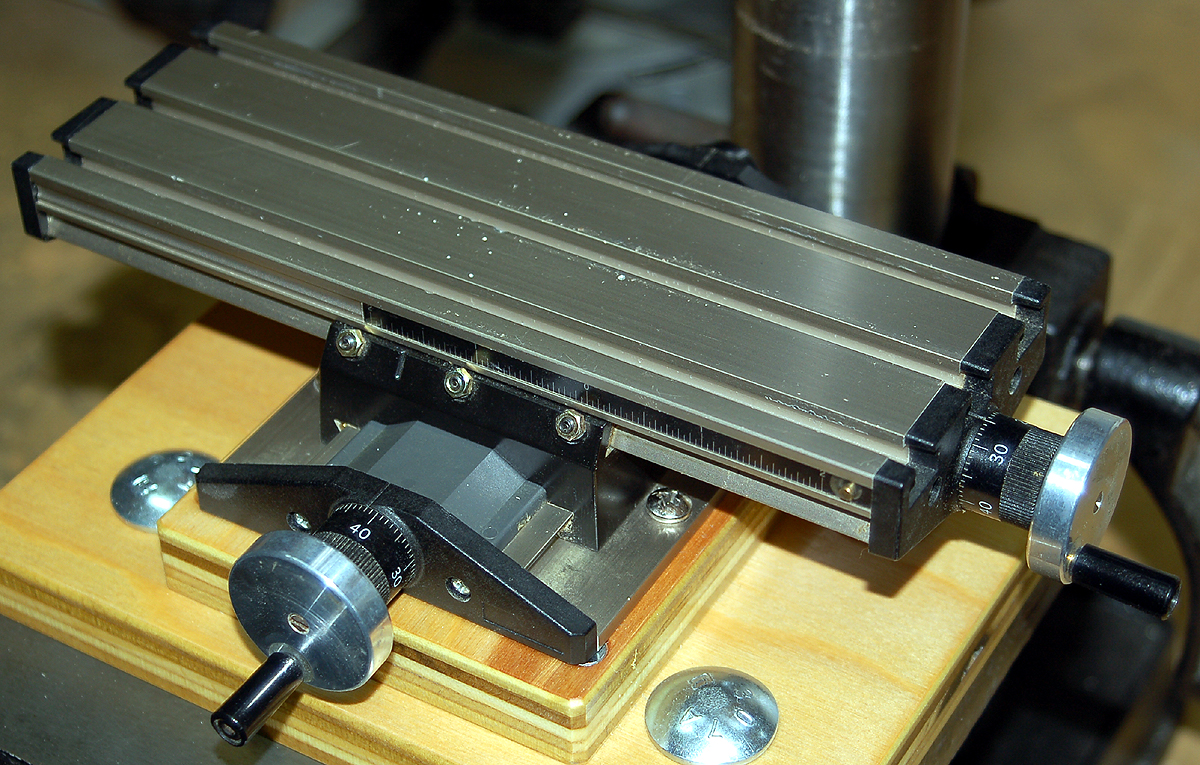
If you have a drill press and you do not have a compound table then you do not know what you are missing.  The table shown here is by Microlux/Proxxon.  I purchased it from Micro-Mark at the same time that I bought the Microlux miniature drill press.

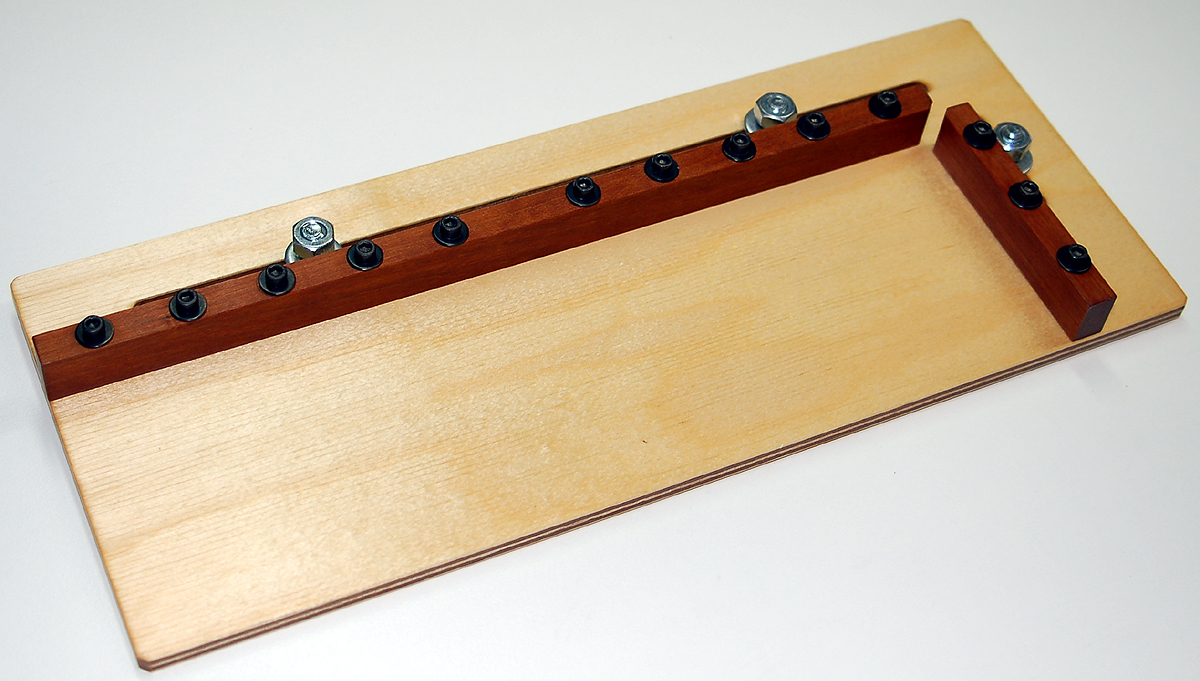
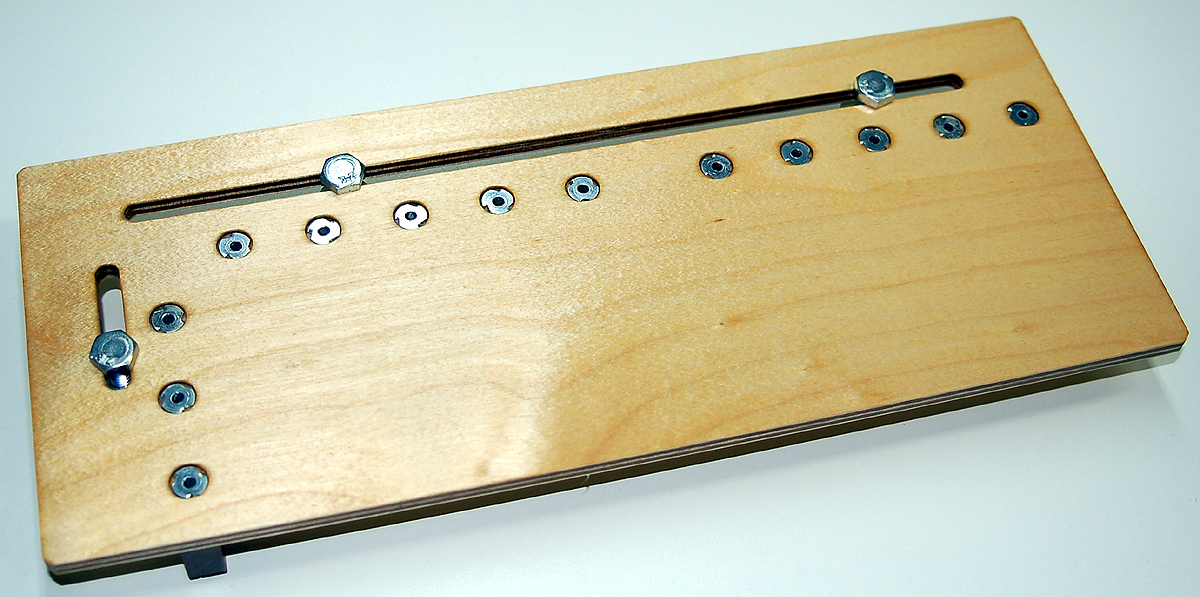
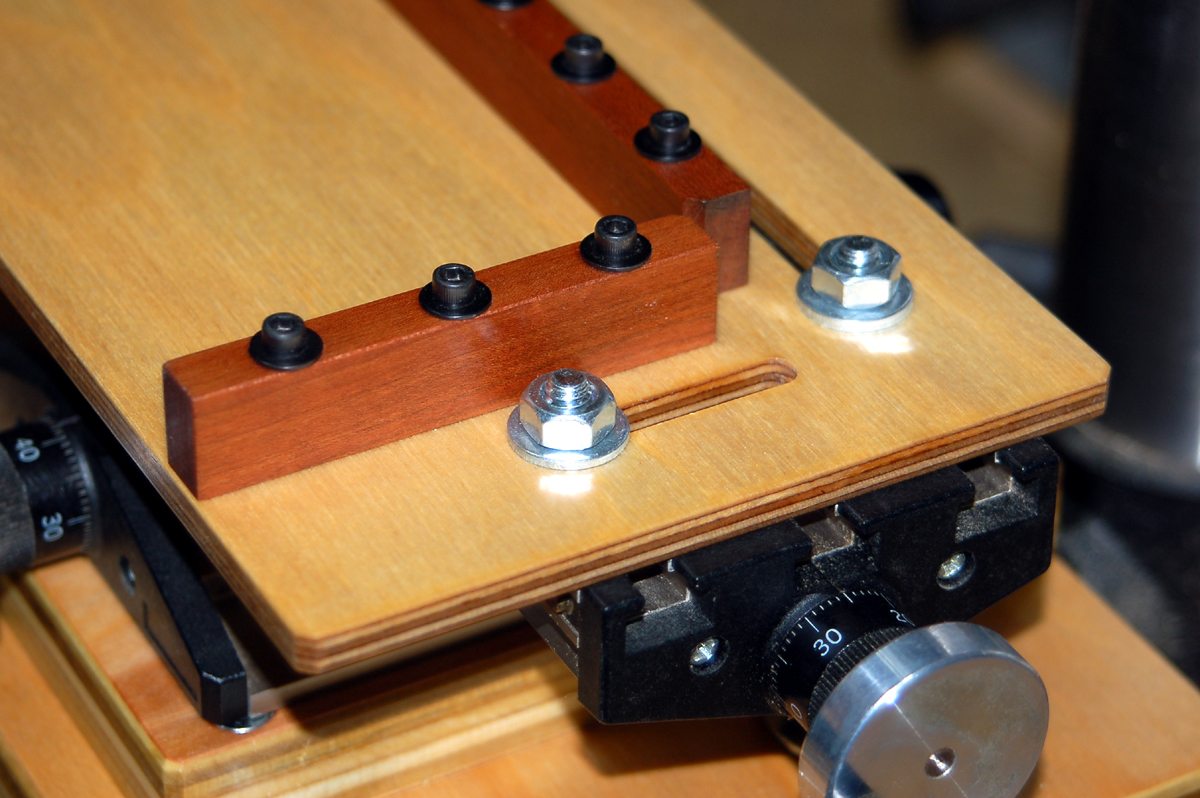
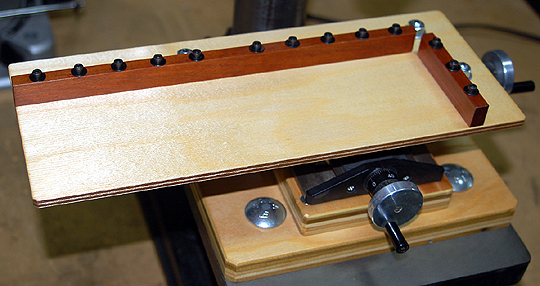
The table comes with two clamps and in my opinion isn't very useful for wood model-building unless you make a fenced table to mount on it.  After you do that you will be using this all the time.

The table mounts on the Microlux drill press without modification.  That's how I used it for about a decade until I started doing a lot more production work and switched it over to my bench top drill press. 

Other than me dinging it a few time with various drill bits the table is going strong and I'm really glad I have it.

For my bench drill press I would like a compound table a little larger but I haven't been able to find anything.  Mostly what I've found are compound tables made for milling machines that weigh more than my drill press table will be able to support.

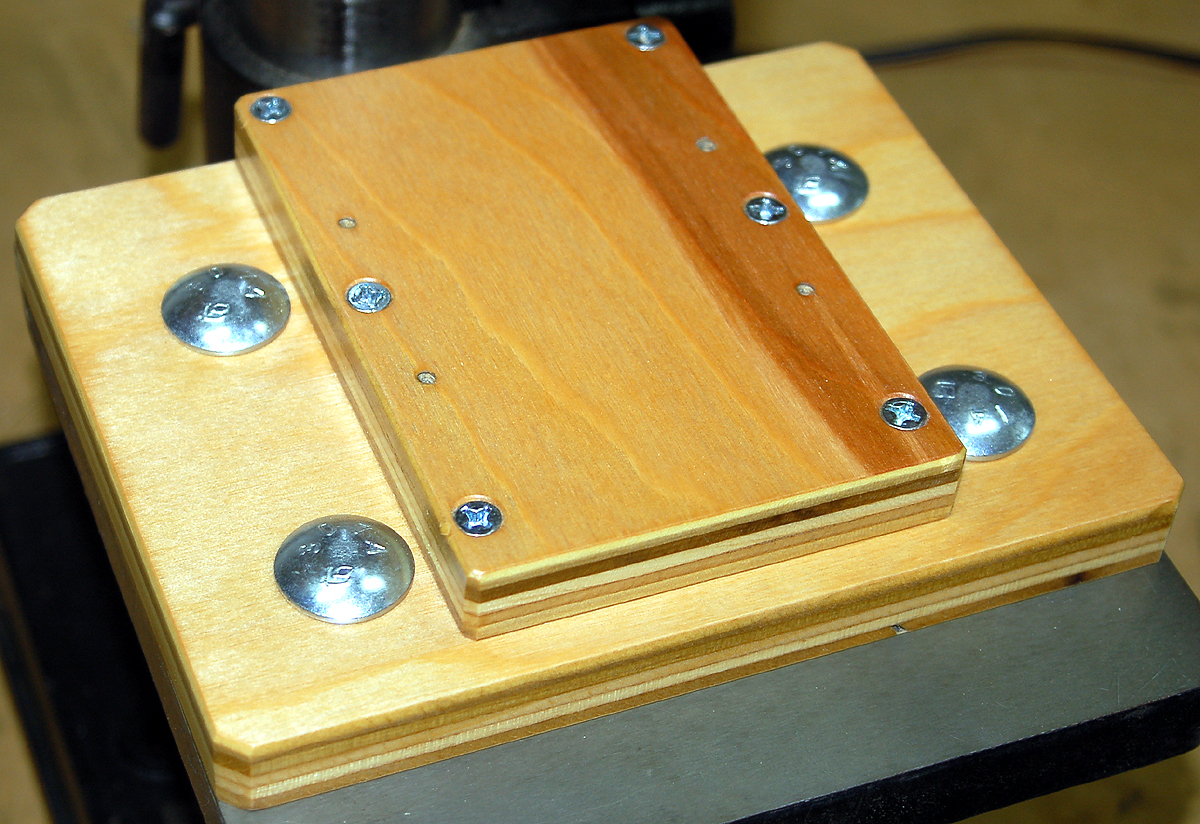
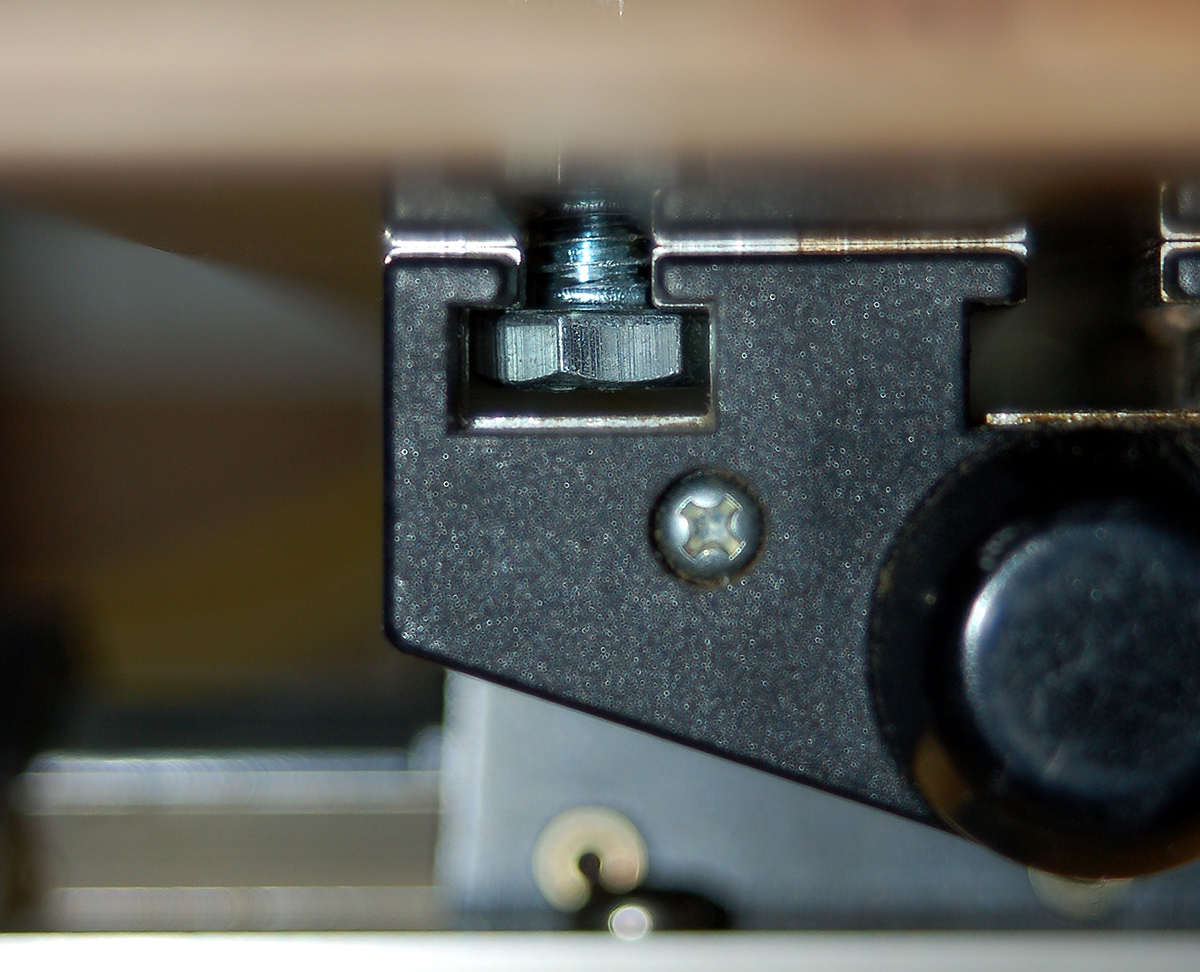
I had to build a mount to adapt the compound table to the drill press table.  The mount is simply two boards screwed together.  One of the boards mounts to the drill press table and the other board mounts to the compound table.  The boards could also be glued together but I wanted the piece that mounts to the compound table to be removable so if I ever want to mount the compound table to something else I would already have the mount.

The compound adjustment wheel in the Y direction goes below the bottom of the compound table which is why the two pieces are required.

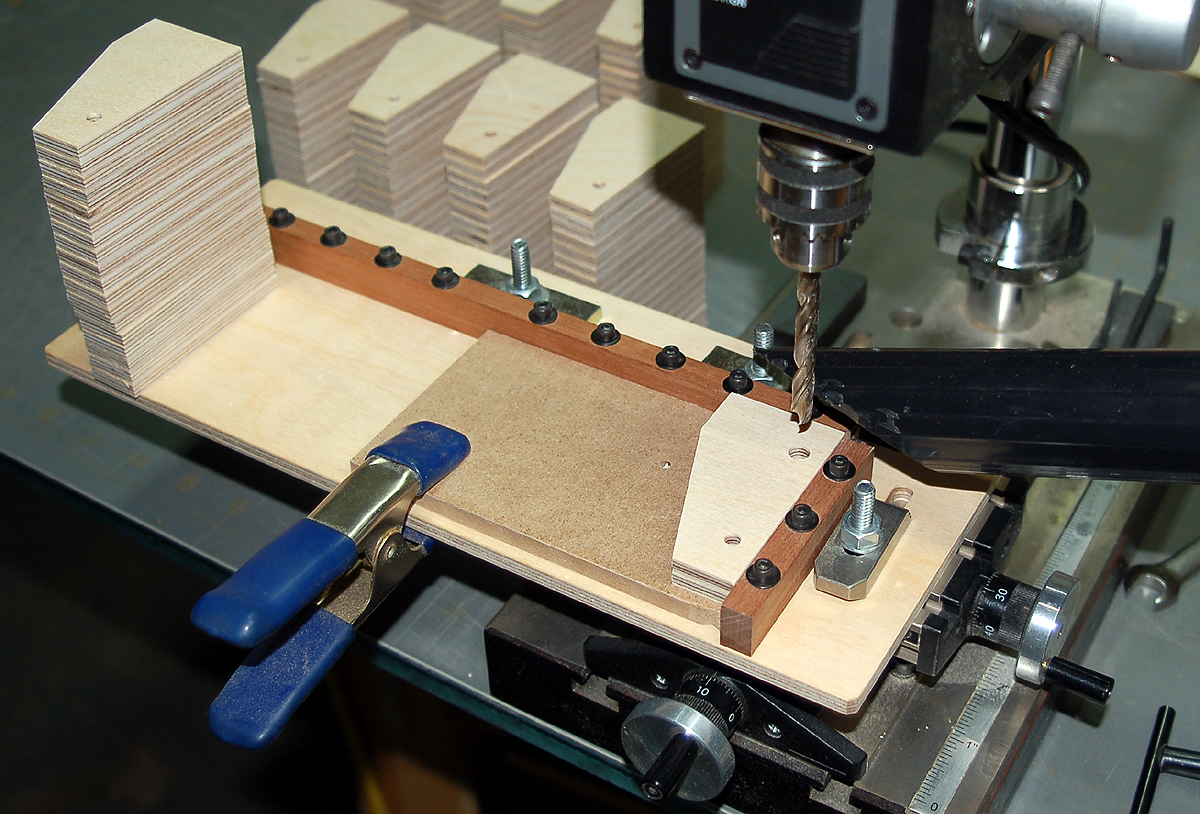
Whenever you drill through the piece you are drilling use a backer board to protect the base of your fenced table.  I use 1/4" medium density fiberboard which is very in expensive.  For model-building tasks one board cut into smaller pieces will last you a very long time.


Making an Adapter Mount

This component isn't necessary unless you need an adapter for your compound table to drill press table.  The Microlux X-Y table fits the Microlux drill press as it comes.  The mount shown here is to adapt the Microlux X-Y table to my Hitachi bench-top drill press.

I used 1/2" carriage bolts to attach the mount to the drill press table using the existing slots in the table.  The bolts are secured using nuts and washers under the table.

The wheel in front extends below the bottom of the X-Y table which is why two boards are required.


Making the Fenced Table

I used my fenced table for a few months before finishing it.  When I finally got around to applying the finish I was experimenting with different finishes to learn about them.  All the wood pieces are finished using Watco Danish Oil.  I'm not sure what's actually in it because "Danish Oil" can mean just about anything.  But it smells, performs and looks like oil-base polyurethane that has been thinned significantly.

After the finish had cured for a week or so I rubbed it with #0000 steel wool (very fine) then applied a couple coats of furniture wax.  Waxes are something else I'm playing around with having purchased about six different types not long before I finished the fenced table.  Don't ask me why.  I never wax any of my furniture.

The fenced table is very simple.  It is essentially a base and a pair of removable fences.  The long fence could probably be glued permanently in place.  I've never had a situation where it needed to be removed.

The short fence should be removable so that you can drill longer pieces. For example if you build a large toy fire truck and need to drill the ladder legs for the rungs you will probably need the short fence to come off.

I used way too many bolts to attach the fences.  Five on the long fence and three on the short fence will be plenty.

The underside of the base is counter-bored to receive T-nuts for the fence-mounting bolts.

I made the base adjustment slots using my router table.  You can also drill a pair of holes at the ends and then connect them using a scroll saw.

The base mounts to the X-Y table using 1/4" hex bolts, washers and nuts.  The bolt heads slide into T-slots in the compound table.

The Microlux X-Y table comes with a pair of clamps that attach using studs that thread into square nuts that slide into T-slots.  All of the hardware is metric.

Instead of trying to hunt down additional metric hardware to make jigs to fit my table I use readily available 1/4" hex head bolts that fit into the slots without difficulty.

The fenced table mounted to the compound table.
I beveled the inside corners slightly so that wood fuzz at the corner of the piece being drilled would not interfere with the piece snugging up to the fences.
The compound table and fenced table system allows very accurate drilling.  This photo was taken before I had applied the finish.

As I mentioned, the Microlux/Proxxon X-Y table mounts to either Microlux miniature drill press without modification or the need for an adapter mount.

Note the use of the sacrificial backer board to protect the base of the fenced table.


Previous —
Next —

How To Make the Mighty Disk Sander Bevel Master
How Not to Install Model Airplane Radio Controls

Comments about this article


Back to How-To's
Airfield Models Home


Copyright © 2011 Paul K. Johnson