Airfield Models - How To

Make Straight Cuts Using a Scroll Saw

December 19, 2021


Home
About
What's New
History
Models Gallery
Model Building Safety
Articles
Mail & FAQ
Site Map
Site Feedback
Contact
Add to Favorites
Comments
Search Airfield Models

Back to How-To Articles


Airfield Models (http://www.airfieldmodels.com/)How to Make Perfectly Straight Cuts Using a Scroll Saw

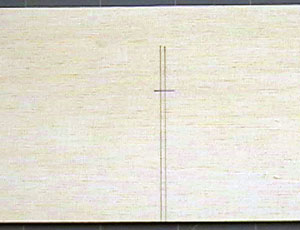
I am fairly obsessive about the quality of my work.  Even though I can cut an acceptably straight line with a scroll saw, it always bothered me that the line was never perfectly straight.

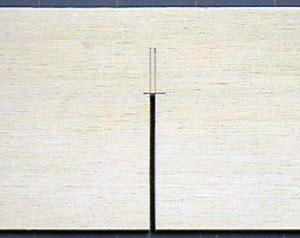
I tried a few ways to improve the cut including making a fence, but they were tedious to set up and ultimately didn't work.

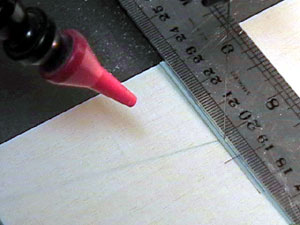
For example, to cut a straight line, the work needs to be fed through the blade at a slight angle to the blade due to the way the blades are milled.  The teeth have a set which requires the work to be fed into the blade at an angle to the actual cut.  Each blade requires a slightly different angle which made setting up a fence difficult.

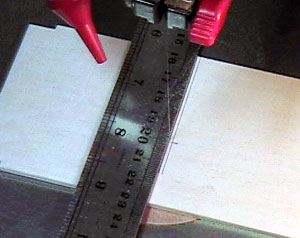
Eventually I tried this method and have had great success with it.  It does have its drawbacks unfortunately.

Most importantly, this cutting method can potentially break the scroll saw blade and send pieces flying everywhere to include penetration into parts of your body such as your eyes and skull or other.  If you choose to attempt this you do so at your own risk!

Always wear safety goggles whenever you use a scroll saw and especially when using this technique.

The other hazard is that a scroll saw blade can cut stainless steel.  I have ruined a couple of rules using this method.

Also see


Draw the lines on the wood to indicate the cut.  Use a fine pencil on plywood or hardwoods or a very fine tip marker on soft balsa. Mark the wood to indicate the cut(s) to be made.  I use pencil on plywood or hardwood and a fine Sharpie marker on soft balsa.

This is 1/8" lite ply.  The lines are approximately 1/16" apart.

This same technique can be used for totally enclosed cut-outs such as in formers.  Simply drill a hole and feed through the blade.  Shut off the saw between cuts and line up the straight edge.

Lay the straightedge on the side of the cut that will be retained. Lay a sandpaper-backed, stainless steel straightedge on the line so that the straightedge covers the portion of the work that will be retained.

In this case, the small cut-out will be discarded, so it is exposed.

If that doesn't make sense, then let me know and I'll see if I can word it better.

Do the same as before for the second cut. The first cut is made and the straightedge is moved to the opposite side to make the second cut.

Normally what I do to cut the end is cut a diagonal with the scroll saw and then slide the piece back and forth using the blade as a file to square the end.

Alternatively, it can be chiseled out with a hobby knife.

The final cut out is clean and very straight. Here you can see how clean the cut is.  Most importantly it is very straight - much more so than if I tried to guide the piece free-hand.


Previous —
Next —

How to Make a Semi-Rigid Contour Sander
Make a Router/Shaper Table for use with Dremel Moto Tools (Version 1)

Comments about this article


Back to How-To's
Airfield Models Home


Copyright © 2004 Paul K. Johnson