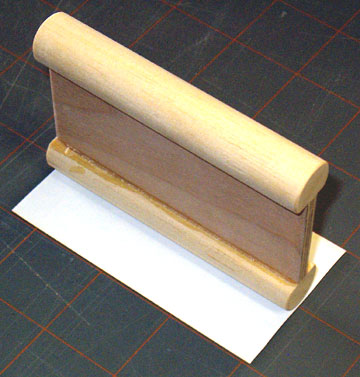
Airfield Models - How To

Make a Fillet Sander

December 19, 2021


Home
About
What's New
History
Models Gallery
Model Building Safety
Articles
Mail & FAQ
Site Map
Site Feedback
Contact
Add to Favorites
Comments
Search Airfield Models

Back to How-To Articles


Airfield Models (http://www.airfieldmodels.com/)How 
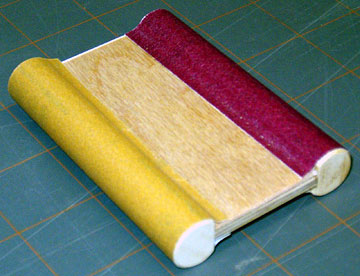
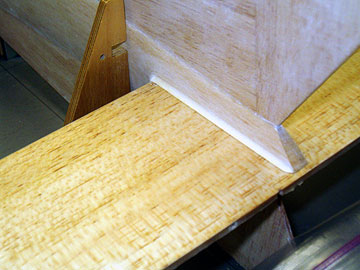
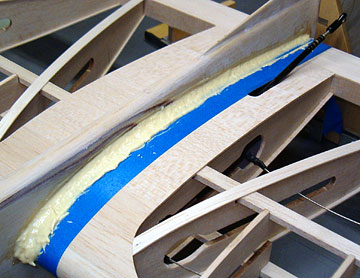
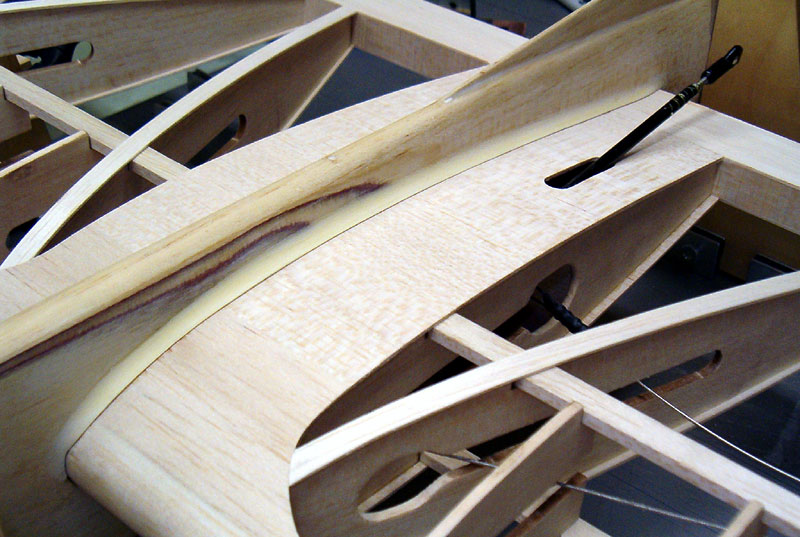
to Make a Good Fillet Sander

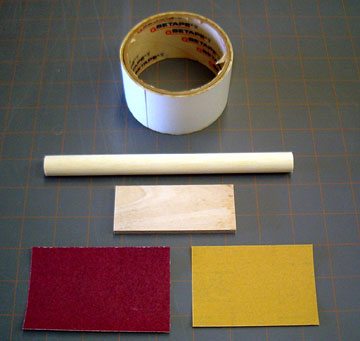
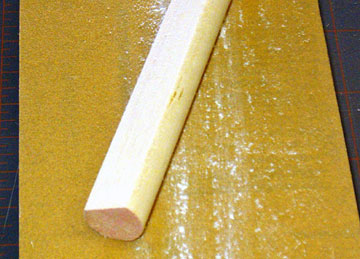
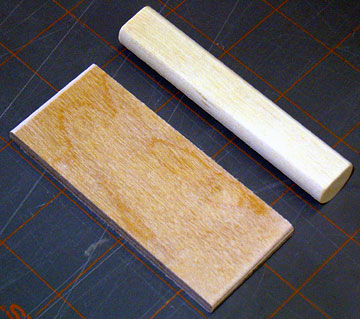
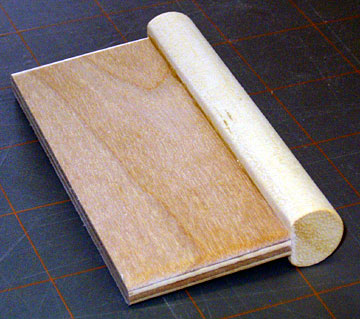
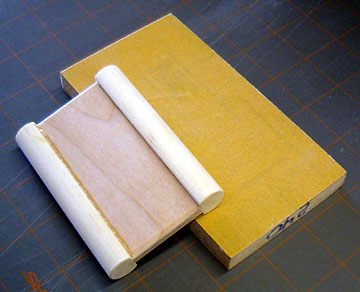
We've all figured out how to wrap a piece of sandpaper around a dowel, pipe, bottle or whatever is handy and about the right size in order to sand concave surfaces.

I've done the same for a long time, but the sander is usually difficult to grip which makes controlling it that much more difficult.  Additionally, the sandpaper can wrinkle and cut grooves or take gouges out of your work.

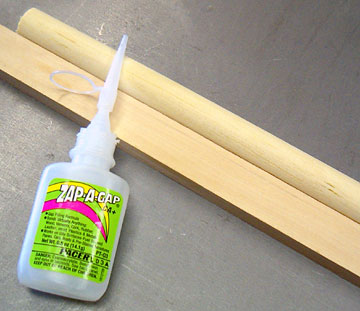
I finally got fed up with the nonsense and decided to do something about it.  I got this idea from a commercially made sander molded from rubber that has the same approximate finished shape.

While I'm sure that sander works fine, I've only seen it in one or two sizes.  You can make this one from scraps around your shop in whatever sizes you need.

Take care making these tools and they'll last a long time.  It won't take long before you have a collection for almost every circumstance.


Materials to make a fillet sander This is a very simple tool to make but it works much better than wrapping loose sandpaper around dowels.

You'll need a dowel, a piece of plywood (no thicker than the diameter of the dowel), sandpaper and double-sided tape.  I used carpet tape because it holds better than regular double-stick cellophane tape.

To saw a dowel along its length, glue it to a block. The dowel needs a flat on one side.  You can plane and sand it, but again, dowels are difficult to hold so I chose to use my table saw.

I securely glued the dowel to a block using medium CA.

Set the saw to provide a flat that is at least as wide as the handle, but less than the dowel radius. Set the cut such that the flat on the dowel is at least as wide as the plywood is thick.

I suggest that you retain more than half the dowel.

Sand the flat. Finish sand the flat.
Sand the handle so the tape stays stuck.

The handle is the secret to this sander.  It makes it much easier to control.

Sand the handle working your way to fine grit sandpaper.  If the handle isn't sanded smooth the tape will not stick well.

You could finish the handle with a clear paint for best tape adhesion.  I didn't finish mine.

Something I advocate is securing your work so you can hold the tool with both hands.

Center the handle on the dowel and glue it in place. Glue the dowel to the handle using a good quality glue.  If the dowel breaks off while you're sanding, something really bad will probably happen to whatever you were sanding.

Try to keep the handle more or less centered on the dowel.

Sand the dowels to remove fuzz and facets. I made my sander double sided so I can put coarse grit on one side and medium-fine on the other.

Be sure to sand the dowels too.  If you look at them closely you'll see dowels tend to be fuzzy and have facets on them.

Center the dowel on the tape-backed sandpaper and roll the paper on to the dowel. Put tape on the sandpaper and trim to final size.  Remove the tape backing and center the sander on it.

Roll the sander on to the paper.

A finished double-sided fillet sander. The finished sander.
Sanded stabilizer fillets. A sanded stabilizer fillet.

This is a DoodleBug 580F that I am currently building..

The stabilizer is huge so it will be shipped separately as will be the wing.  I wrapped the stabilizer and wing with plastic wrap so that I could remove these parts after the fillets were applied.

Note that in this case the fillets were sanded without the wing or stabilizer in place which makes it a little bit easier.

Wing fillet made of epoxy, chopped fiberglass and micro-balloons. This wing fillet didn't begin life as smoothly as most fillets.  It is a mixture of mostly epoxy and chopped fiberglass that was added for strength.

Micro-balloons were added to make the fillet easier to sand and to lighten it.

If the paste were made from only micro-balloons and epoxy the fillet would have applied much smoother.

Wing fillet after sanding. The fillets also took a little longer to sand than usual due to the added chopped glass and having less micro-balloons.

There were a couple small pits that I filled with Squadron white putty (much like auto glazing putty).

Again, the wing was removed after the fillet was cured but before it was sanded.

Click the image to view a larger version.

And again after painting.


Previous —
Next —

Build a Fixture to True Balsa Wood Sheet Edges
How to Make a Semi-Rigid Contour Sander

Comments about this article


Back to How-To's
Airfield Models Home


Copyright © 2006 Paul K. Johnson