 |
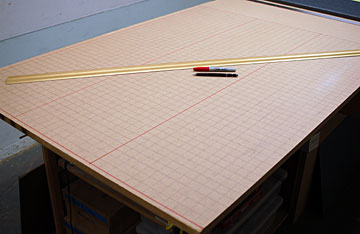
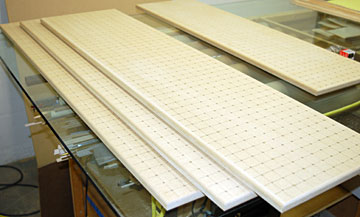
I decided to make each of my boards 12" x 48" using 3/4" MDF.
This piece allowed me to make three boards in addition to the two I had
already made. Draw a grid in whatever increments you think will
work best. I decided on a 1" x 1" grid which meant drilling 11 x 47
(517) holes in each board. This is one of those times when having a
light drill is a blessing. Much after the fact it occurred to me that
rather than drawing a grid I could have just laid a piece of pegboard over
the MDF and used it as a drill guide. |
 |
 The
extra hands are
flexible so I wasn't worried about making the holes exactly
perpendicular which would have taken far longer. A good eyeball is
all that is necessary. The
extra hands are
flexible so I wasn't worried about making the holes exactly
perpendicular which would have taken far longer. A good eyeball is
all that is necessary.
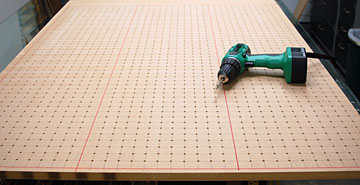
Drilling all
these holes took about 2-1/2 hours. I don't regret doing it, but no, I never want to do
this again.
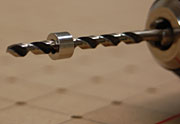
I used a wheel collar as a depth-stop on the drill
bit to prevent drilling all the way through the board. The holes
are drilled approximately 5/8" deep. (I'll bet 90% of everybody
just stopped reading this page) |
 |
The boards were cut apart using a circular saw guided by
a
straight edge clamped to the boards. I used a 1/4" rounding
bit in my router to clean up the edges. |
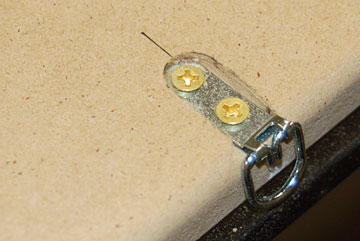 |
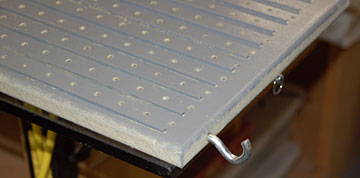
A mirror hanger is added to the back of each board so I
can hang it from the wall out of the way.
I used my Dremel router to inset the hanger slightly. |
 |
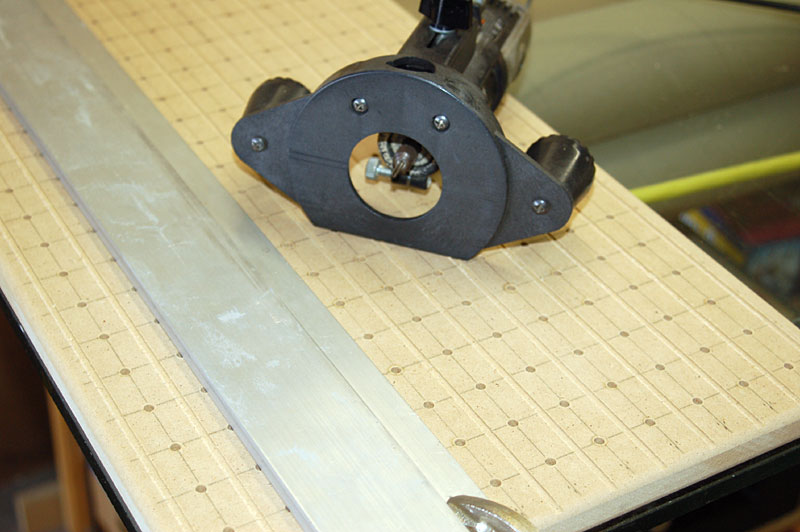
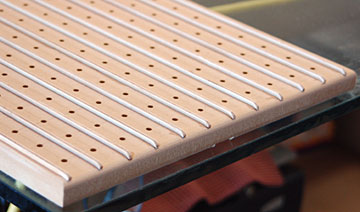
This step is probably optional for most builders. I
added strips to the board to support the
fixtures I make while painting them. Most of the model parts I
paint will be held by extra hands so the support strips won't be
necessary. I used my
Dremel tool with a router base and 1/8" straight routing bit to cut
full length grooves approximately 1/16" deep to receive the support
strips. |
 |
I cut 1/8"
plywood into 3/16" wide strips using my
Microlux Table saw. I would rather have used inexpensive
pre-cut hardwood but I didn't have any on hand. The hardwood I do
have was fairly expensive and I didn't feel this was a good use for it.
The strips are glued into the routed grooves using thin
CA. I used a long
sanding block to level the strips and rounded over the ends so they
wouldn't cut up my hands while moving the boards around. |
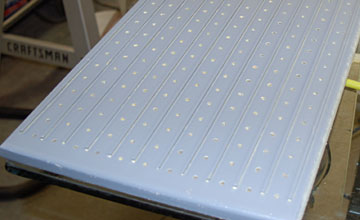 |
Finally a good coat of paint was sprayed all over to seal
the boards. MDF is easily ruined when it gets wet. I applied
a couple heavy coats of car wax to help prevent overspray from sticking
when painting models. |
 |
An eyebolt was added to each board so I can hang my spray
gun to it. I have a clamp-on style airbrush holder that will be
clamped to whatever board is in use at the time. The eyebolt
was cut off using my Dremel tool. |
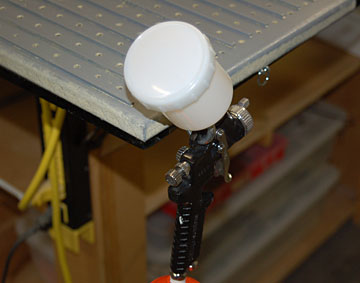 |
The
spray gun placed on the hook. |
 |
Vertical presses for my
magnetic building system are slid
onto a piece of music wire held by extra hands. Wheel chocks
have a screw threaded into them that is held by the extra hands. |
 |
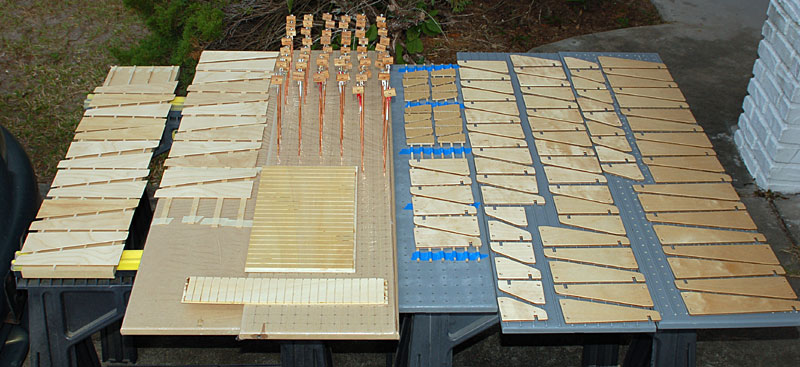
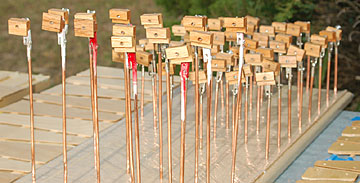
Shown here are four sets of fixtures and miscellaneous
other pieces that were lacquered and are now drying in the sun and not
filling my shop with fumes. |
 |
These pieces have a bolt threaded in and were then soaked
in Danish Oil. They are clipped to extra hands to dry in the sun. |