Make Decorative
Inlays for a Naturally Finished Model Airplane
Something I have wanted to do for a long time is apply a natural
finish an R/C aircraft that is fully
sheeted.
I really like the look of wood and have seen very few models with natural finishes.
The ones I have seen were nicely executed and very attractive.
In some ways a natural finish can be forgiving of errors.
For example, low areas that would normally need putty will not show except
under close scrutiny. These areas would
have to be filled for an opaque color finish. Obviously the wood work
needs to be good. Gaps in joints and other poor craftsmanship will
really stand out.
There are some obvious disadvantages to this finish.
Dings, dents and damage will be difficult if not impossible to
repair to a like new state. A break in the wood will be clearly
visible. One possible way to cover a repair would be to paint a trim color over the area.
Note: The
inevitable happened.
 I decided to give
it a try. The worst thing that will happen is I will never want to do it
again. I originally was going to build a second prototype of
Shadow and give it a natural finish. I do not remember exactly when or why I decided to build
Rustik,
but somehow I just started building one and that is what is being presented
here. I decided to give
it a try. The worst thing that will happen is I will never want to do it
again. I originally was going to build a second prototype of
Shadow and give it a natural finish. I do not remember exactly when or why I decided to build
Rustik,
but somehow I just started building one and that is what is being presented
here.
After making the decision to go with the natural finish, I began wondering
what I would do for
trim
colors. I considered several things such as staining
the center sheet of balsa for the wing sheeting before joining the sheets
and several other similar ideas. Most of those ideas involved using
stain.
I did not want to mess around with
trying to stain balsa. That would be akin to trying to stain a sponge.
I had nightmares of the sheet swelling to twice its thickness,
warping so
badly the sheet would be ruined or simply taking a month to dry.
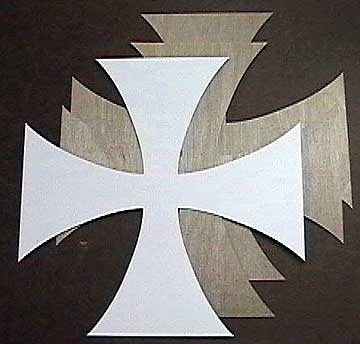
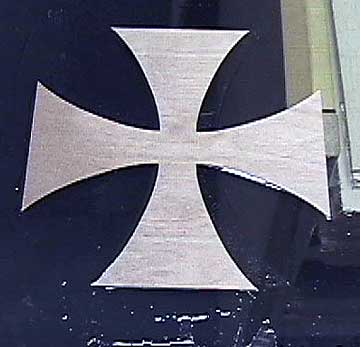
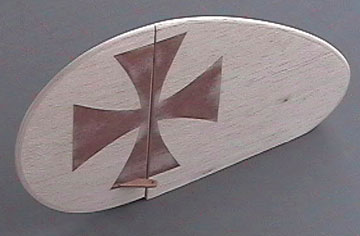
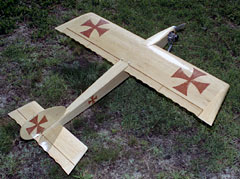
Then I had a brainstorm. The classic Das Ugly
Stik has large Maltese Crosses on each wing, the fuselage sides and on both
sides of the
fin and
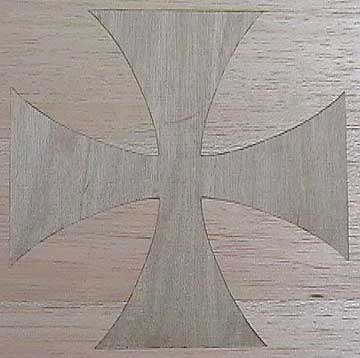
rudder. It did not take me too long to figure out
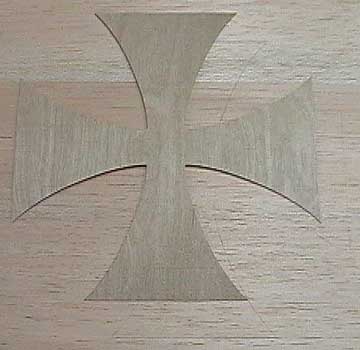
that I could inlay thin
plywood
into the sheeting. The plywood is darker than the balsa and the finish
would bring out the color.
This is the first time I have ever attempted any
type of inlay other than simple rectangular plywood plates into control
surface to provide a hard point for
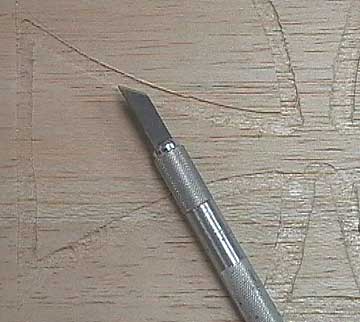
control horns. Before ruining a
lot of perfectly good wood, I practiced on some scraps to give me confidence
that I could pull this off.
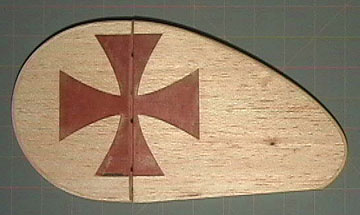
The sheeting is 1/16"
contest balsa. The
Maltese Crosses are cut from 1/64" plywood. A friend found some clip art on
the web to use as a pattern and sent me the link. The image was imported into a draw
program and edited until I liked the shape.
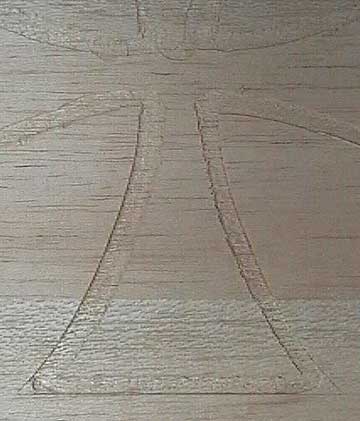
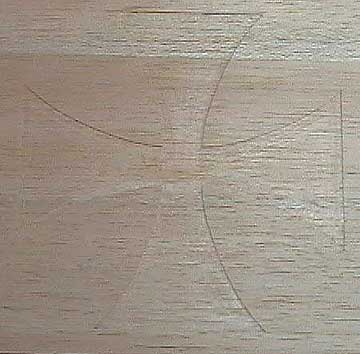
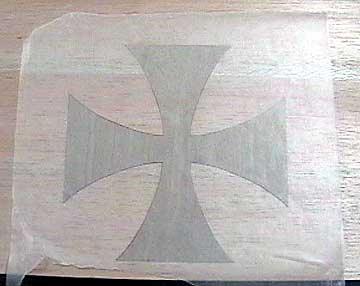
The
finished pattern was too big for my printer so I cut the cross in half and
added a centerline for
registration. Two copies were printed, cut apart on the centerlines
and taped together to make a whole cross. This pattern was
spray glued to some heavier cardstock that was used as the final pattern.
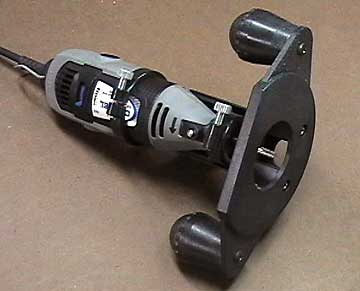
From the time I downloaded the image from the web to the time I had four
plywood crosses was about two hours. The time required to inlay the
first cross was about 1-1/2 hours. By the time I got to the fourth
cross I was down to twenty minutes. This is how I did it:
|